Saturday, March 19, 2011

Progress at Body Shop

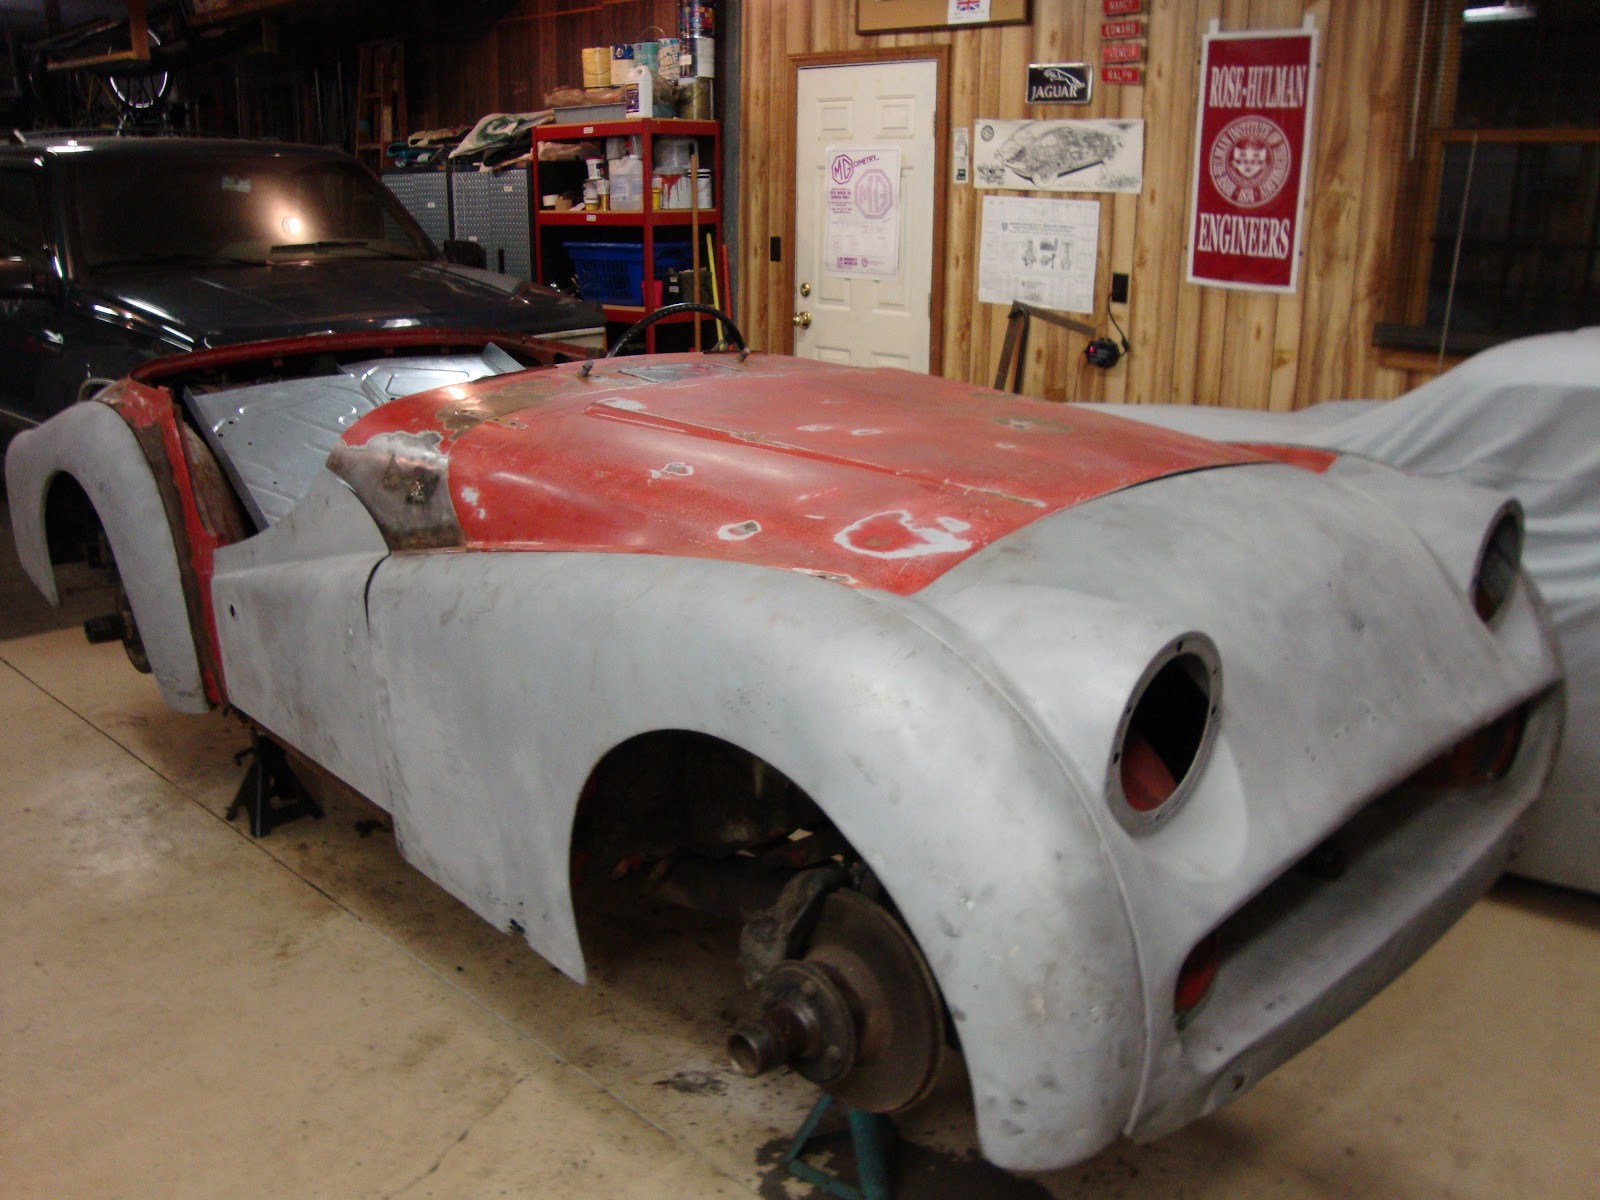
Here's a few photos from loading the car and delivering it to the body shop on 3/5:


As you can see, my son Joe helped me get the car on the trailer.  Everything went well except it was slightly drizzling so the bare metal from bead blasting did get a little wet. 

Then today 3/19 I visited the body shop to see how Darrell was progressing.  Coming along OK, he's focused so far on the upper portions of the body work plus getting ready to weld in the floors and rear arches.  For the rear arches he plans to "filet" portions of the new arch into portions of the old arch, that way he can retain a lot of the metal around the door pillar and avoid getting into alignment issues with the pillar.  Here's a decent shot of what I mean:


This is the original wheel arch yet, the "holes" are sections where we will weld in metal from the new part, around the arch plus the rotted out section at the very bottom.

He did a nice job on repairing the area on the passenger side where the windshield mounted, this was pretty messed up for some reason:


Then here's a before view of the worst part of the floorboard challenge, the passenger side:


Three of the four brackets on the inner sills to mount the body to the frame were fine, but this one is missing about 90% of the bracket portion which Darrell will have to replace.

Saturday, February 26, 2011

Car almost ready for body shop

The body shop can start the week of 3/7, so I plan on delivering the car there on Saturday 3/5.  Got the other half of the car bead blasted week of 2/21.  Spent Saturday 2/26 re-installing the major panels and prepping the portions of the car not bead blasted.  The bead blasting sure removes any prior body filler,  let's just say I have found some "opportunities" for the body shop. 

Here's four major views of the car from the four corners:


Here's a closeup of the passenger door, I was not aware that it had been hit and repaired:


Here's a view of the passenger side windshield mounting area, kinda ugly, had quite a bit of filler in there.  There is a tap plate that the windshield bolts go into, when this prior repair had been done they replaced the tap plate, I found the old one inside the front fender, was rusted real bad.


There here's the rear passenger side fender:


Looks like the passenger side was hit several times over the years.

The driver's side front was also hit, damaged the front clip and the inner fender.  Front clip also has some rust issues down low:


Then there's the passenger side front fender, I knew it has rust issues down low, here's some of the swiss cheese there:


Well, Darrell is good, and I am delivering him the car with all rusty bolts loose with the nuts all tapped so it's easy to get the parts on/off.  But he will definitely have some fun welding this thing back together!

Saturday, February 5, 2011

Half Way Point - Body Prep

I decided to tackle one side of the car at a time, that way if I forget where something goes I can look at the other side!  I removed the two fenders and door from driver's side, plus trunk lid and spare tire cover, and took those five parts to the sand blasters last weekend, due back early next week.  I also repaired or replaced all captive nuts and the bolts connecting the floor to the frame.  I have learned a lot about removing rusty bolts!  I bought an angle grinder, which has been invaluable.  I prepped the remaining bit of body work on the driver's side.  Here's some current photos:


These are front and back views.
As you can see above, there's not much left of the original floors.
There are three pieces of sheet metal that Darrell, my body guy, will have to install.  They are in the above pictures.  The floor is the silver piece.  The outer sill is the one next to it in primer.  The the rear wheel arch is the one two pictures above.  The outer sill and rear wheel arch were bought over 15 years ago by prior owners and never installed. 

 This shot shows the other side, kind of a "before" picture for the driver's side.  My goal is to get the car ready for Darrell by sometime in March.

I also had Darrell come by and give me a quote on the bodywork.  Overall I am fine with the quote, would like to pay less but I know he'll do a good job.  The challenge now is to manage all the other costs to stay within budget.....the reward for being under budget is new chrome wire wheel, but I'm not counting on that.

I also sent the eight pieces of "capping" to the interior guy in Ohio today.  Capping is the pieces that go on the top of the door, dash, and around the rear of the interior to finish off these areas.  Tim in Ohio will re-cover my capping, build me two new seats using new material and foam but used seat frames, and also send all other interior bits needed to complete the interior.  I'm having it done in black with red piping, original interior was black with white piping but I like the red better.

Friday, December 31, 2010

Clutch Repaired after 31 years!

From prior run I knew the clutch slipped, but when I removed transmission the disc and pressure plate looked fine, plus were date coded 1979 when the car last had plates.  Installed new disc and pressure plate but re-used old release bearing since it's hard to remove plus it also looked brand new.  Noticed essentially no movement of the clutch linkage when transmission was re-installed.  Thanks to some help from Andy S in checking the linkage movement on his TR3A for comparison, finally diagnosed that the wrong release bearing had been used when the clutch was replaced in 1979, it had been slipping ever since then.  I suspect it was a DIY clutch job, and they probably took the transmission in/out several times but were not able to diagnose the problem.  See picture for comparison of old and new:


The new one is 5/32 inch shorter (it's a press fit into it's carrier, the surface on the table is what engages the carrier).  So, the too thick release bearing was acting like it was pushing down on the clutch pedal all of the time.  I installed the new, correct release bearing, put everything back together, and had a very nice ride around the subdivision.  Well, except for finding out the hood flies up at 25 mph when you don't tie it down on the front.  No damage done, neighbor cutting grass was entertained though.  But the clutch engages very smoothly and has no slippage at all.

Wednesday, December 22, 2010

Battery won't fall through now


I painted and installed a new Moss battery box.  As you can see in the picture, the old box's floor was completely gone.  I had to drill out the spot welds to remove the old box.  I also decided not to replace the upper portion of the box, where the body tag resides, that material was fine and would involve a lot more work to replace it.  So I cut off both the old box and new box in such a way to give me a 1/4 inch overlap between the two.  I also don't have a welder and not sure I want to learn, so I bought some automotive adhesive used to join body panels (Evercoat's Maxim 812, two part, comes in tube for caulking gun with special replaceable nozzle that mixes the two parts).  Kind of expensive at $40, but I used about 10% of it for the battery box.  Now considering using it to install the floor panels.  I am very pleased with how it turned out, had to spend some time making sure the flanges lined up well before gluing it in but the joints sure look solid.  I hope I never have to take it back out!

Friday, November 26, 2010

Initial focus is getting car to run!


Since bringing the car home on August 28 I have rebuilt the brakes (all new seals, pads/shoes, and three of six brake lines), had radiator flushed out, all new cooling hoses, new gas tank, hand brake cable, and cleaned things up a bunch. This picture shows the front end with the clip and radiator removed.  Found water pump leaked, installed used one from Huntingburg friend. Changed oil in engine, then cranked enough to show over 140psi compression and 20 psi oil pressure. About 11/8 I got it to start, barely, later replaced plugs on 11/15 and it starts much better now.

The car is on the road


This video footage is the first time this car has been driven since 1979, from my understanding.  Pretty exciting.  Overall ran very well except for the clutch slippage.


Then this video is returning from the tour of the subdivision.  The carbs still need some work, it does not want to idle without a little choke, I know they have some varnish in them.  But the biggest discovery was the clutch issue.  After this run I changed the oil for the second time, changed oil in transmission for first time, and drained cooling system to filter coolant to remove any rust residue.

All gauges work except for fuel gauge, which had worked about a month ago.