Thursday, June 16, 2011

Dashboard is Done

The wrinkle paint turned out real well, neat to see the paint change texture when you apply a hair dryer to it.  The middle portion of the dash, where are the gauges reside, is the wrinkle paint.  Was a pain removing all the gauges and switches to paint it, but I'm glad I did it right.  Got the glove box and it's door installed. 

Next stage will be installing capping around upper edge of cockpit, then get serious about the interior.

Friday, June 10, 2011

Exterior is almost done

Busy time of year so progress is slow, but still doing OK.  Focused on the exterior of the car, here's a shot of the front, I've got the grille and front bumper but I need some hardware to mount the grille so it's not on yet:


Windshield turned out real good, also pleased with the chrome fender trim and the scuttle vent.  Btw, I have a wiring pigtail for my battery tender accessible under the scuttle vent, that way I can charge the battery without raising the hood:


I have also placed the interior inside the car, not installed but just to see how it looks, I sure like the red piping:


Then here's a view of the rear of the car, which is basically done:


Lighting in this picture makes the color look kind of orange, it's really more red like the other pictures.

The wheel wells are undercoated, and all exterior sheet metal aligns pretty well.  That fender beading was pretty tough to get installed, esp the rear pieces that are original to the car.  The transmission cover was also hard to get all 15 bolts to line up with their retainer nuts in the floor, rear tunnel, and firewall.  Esp since the cover had been pretty rusty and the body guy had welded in some replacement sections.  Seems like 15 minute jobs take an hour or more all the time to get things to align.  But I figure once I get it re-installed once then the next time should go easy.

Wednesday, May 4, 2011

Car's home from the body shop!

Picked up the car this evening from Darrell.  I am very happy so far with the bodywork and paint job Darrell did.  He says he used a gallon of clear on the car, sure does shine!  I managed to get it home without causing any damage.  Now the ball's back in my court. 


 Pat, if you see this please notice the shiny rock guards on the passenger side, Darrell even cleaned up the used part you sent to me!


Monday, April 18, 2011

Bad News from Body Shop - Time and Money Can Fix Anything!

Guess things had been going too well.  Darrell called today, said he couldn't get the hood to sit right inside the front fenders.  Turns out when the car was wrecked on the driver's side front  upper, inside sheet metal was shoved over to the passenger side, making the rectangular opening for the hood kind of diamond shaped.  The fenders and front clip can all be mounted correctly, they're all just shifted over to one side.  I captured the effect in photos, shot from front down towards ground but even with outside edge of fender, drivers side first:


Notice how you can see most of the knockoff protruding from the fender.  Then here's the same view on the passenger side:


Almost none of the knockoff is visible.  So we believe the frame is OK (wheels are attached to the frame of course) but the sheet metal the fenders attached too is shifted towards the passenger side by about 1/2 inch.  Looks like the car will be making a trip to a friend of Darrell's who has a frame jig where he can push/pull the upper interior sheet metal into it's correct position.

Here's some more pictures, Darrell is doing very nice work, under hood looks great, inside spare tire compartment looks good, front clip is very straight, door jambs are painted.  If Darrell had not run into this "bent front end" issue he thinks he would have had it painted by the end of this week!


Friday, April 8, 2011

Body Shop Updates

Visited body shop on March 27, floors and outer sills are in:


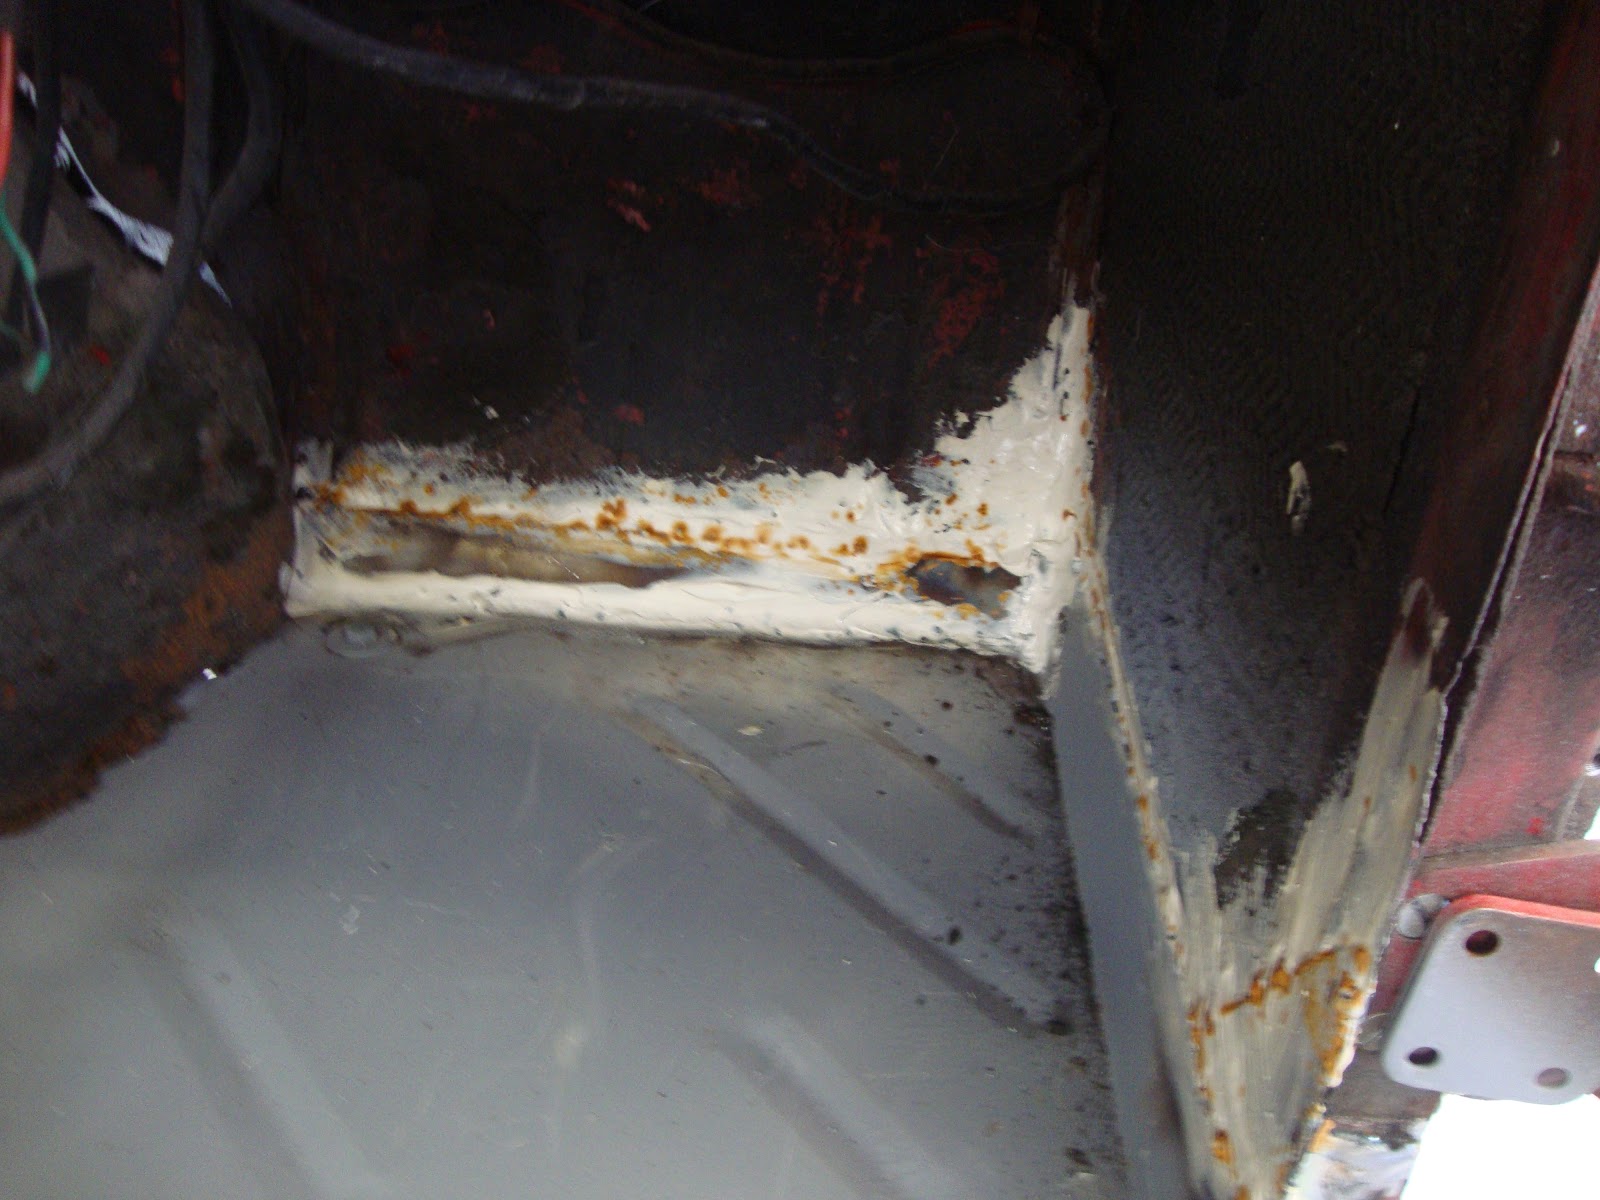
Then went back on 4/8, more progress, trunk is done, edges around floors are finished, most of body work is done except for fenders.  The white stuff is hard caulking to seal up welded joints.  You can see he's just now getting going on welding up holes in fenders.


The trunk turned out better than I expected:


Darrell was able to even retain the old welded on nut for mounting the gas tank strap, that thing was just a mound of rust last time I looked at it!  I didn't get pictures of them but the doors, hood, and trunk lid all look real good, ready for paint.  I didn't see the front clip and forgot to ask about it.

I'd say we're about a week or so away from starting to see some Signal Red paint on this thing.  Darrell has a guy cleaning up under the hood for painting.  Sure gonna be fun to get this thing home!

Saturday, March 19, 2011

Progress at Body Shop

Here's a few photos from loading the car and delivering it to the body shop on 3/5:


As you can see, my son Joe helped me get the car on the trailer.  Everything went well except it was slightly drizzling so the bare metal from bead blasting did get a little wet. 

Then today 3/19 I visited the body shop to see how Darrell was progressing.  Coming along OK, he's focused so far on the upper portions of the body work plus getting ready to weld in the floors and rear arches.  For the rear arches he plans to "filet" portions of the new arch into portions of the old arch, that way he can retain a lot of the metal around the door pillar and avoid getting into alignment issues with the pillar.  Here's a decent shot of what I mean:


This is the original wheel arch yet, the "holes" are sections where we will weld in metal from the new part, around the arch plus the rotted out section at the very bottom.

He did a nice job on repairing the area on the passenger side where the windshield mounted, this was pretty messed up for some reason:


Then here's a before view of the worst part of the floorboard challenge, the passenger side:


Three of the four brackets on the inner sills to mount the body to the frame were fine, but this one is missing about 90% of the bracket portion which Darrell will have to replace.

Saturday, February 26, 2011

Car almost ready for body shop

The body shop can start the week of 3/7, so I plan on delivering the car there on Saturday 3/5.  Got the other half of the car bead blasted week of 2/21.  Spent Saturday 2/26 re-installing the major panels and prepping the portions of the car not bead blasted.  The bead blasting sure removes any prior body filler,  let's just say I have found some "opportunities" for the body shop. 

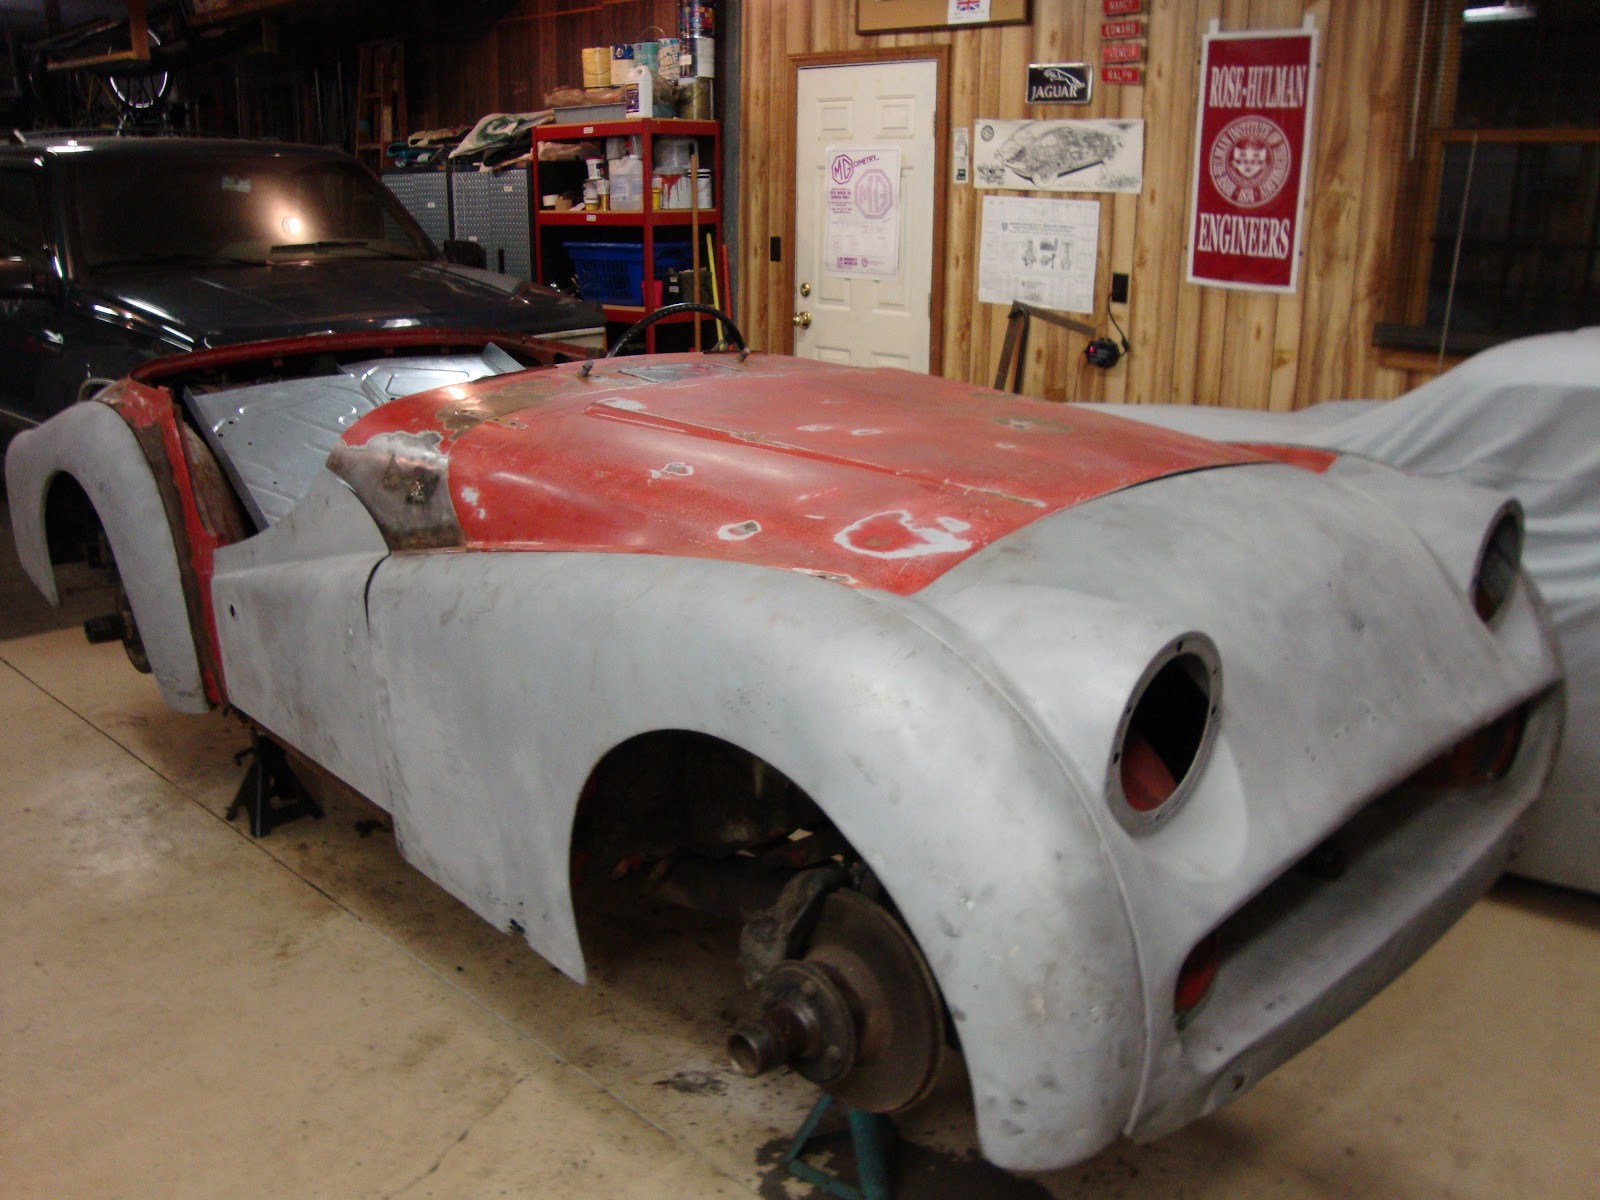
Here's four major views of the car from the four corners:


Here's a closeup of the passenger door, I was not aware that it had been hit and repaired:


Here's a view of the passenger side windshield mounting area, kinda ugly, had quite a bit of filler in there.  There is a tap plate that the windshield bolts go into, when this prior repair had been done they replaced the tap plate, I found the old one inside the front fender, was rusted real bad.


There here's the rear passenger side fender:


Looks like the passenger side was hit several times over the years.

The driver's side front was also hit, damaged the front clip and the inner fender.  Front clip also has some rust issues down low:


Then there's the passenger side front fender, I knew it has rust issues down low, here's some of the swiss cheese there:


Well, Darrell is good, and I am delivering him the car with all rusty bolts loose with the nuts all tapped so it's easy to get the parts on/off.  But he will definitely have some fun welding this thing back together!